Quick Start Guide
Get up and running with Scheduling Hero in just 5 minutes. Learn the basics of adding customers, creating jobs, and managing your schedule.
Download and open the app
Download Scheduling Hero from the App Store or Google Play. Open the app—no account is required to start your free trial to get full access.
Add your first customer
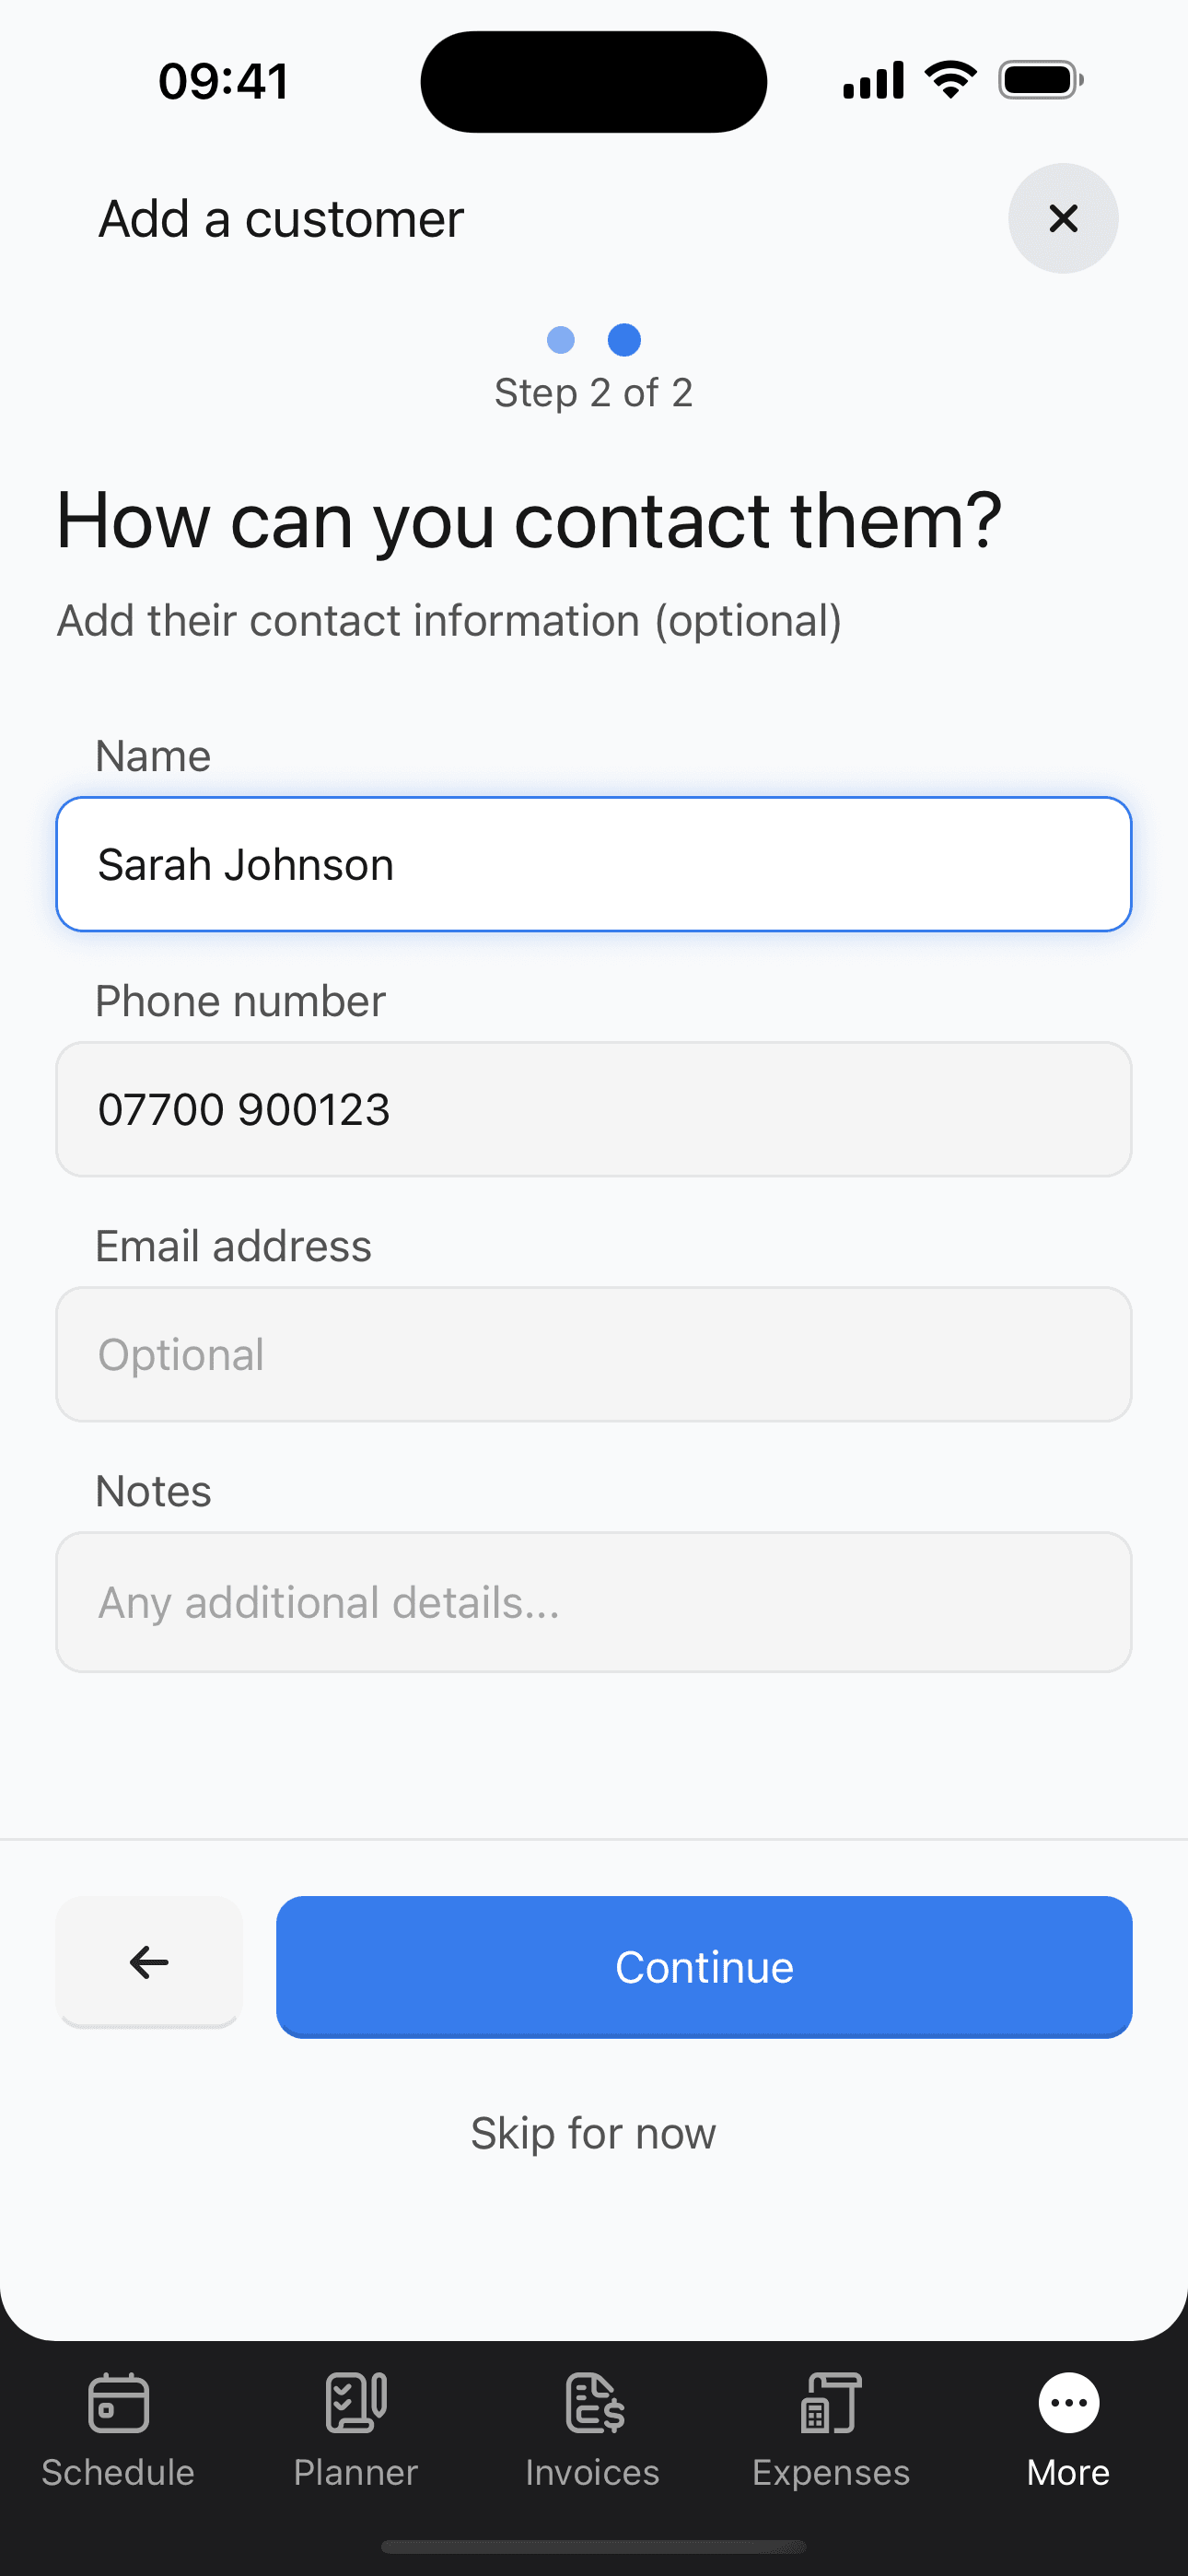
Tap 'More' in the bottom navigation, then tap 'Customers'. Tap the + button to start adding a customer. First, enter their address (street, town, postcode). Then add their contact details like name, phone, and email.
Create a job for the customer
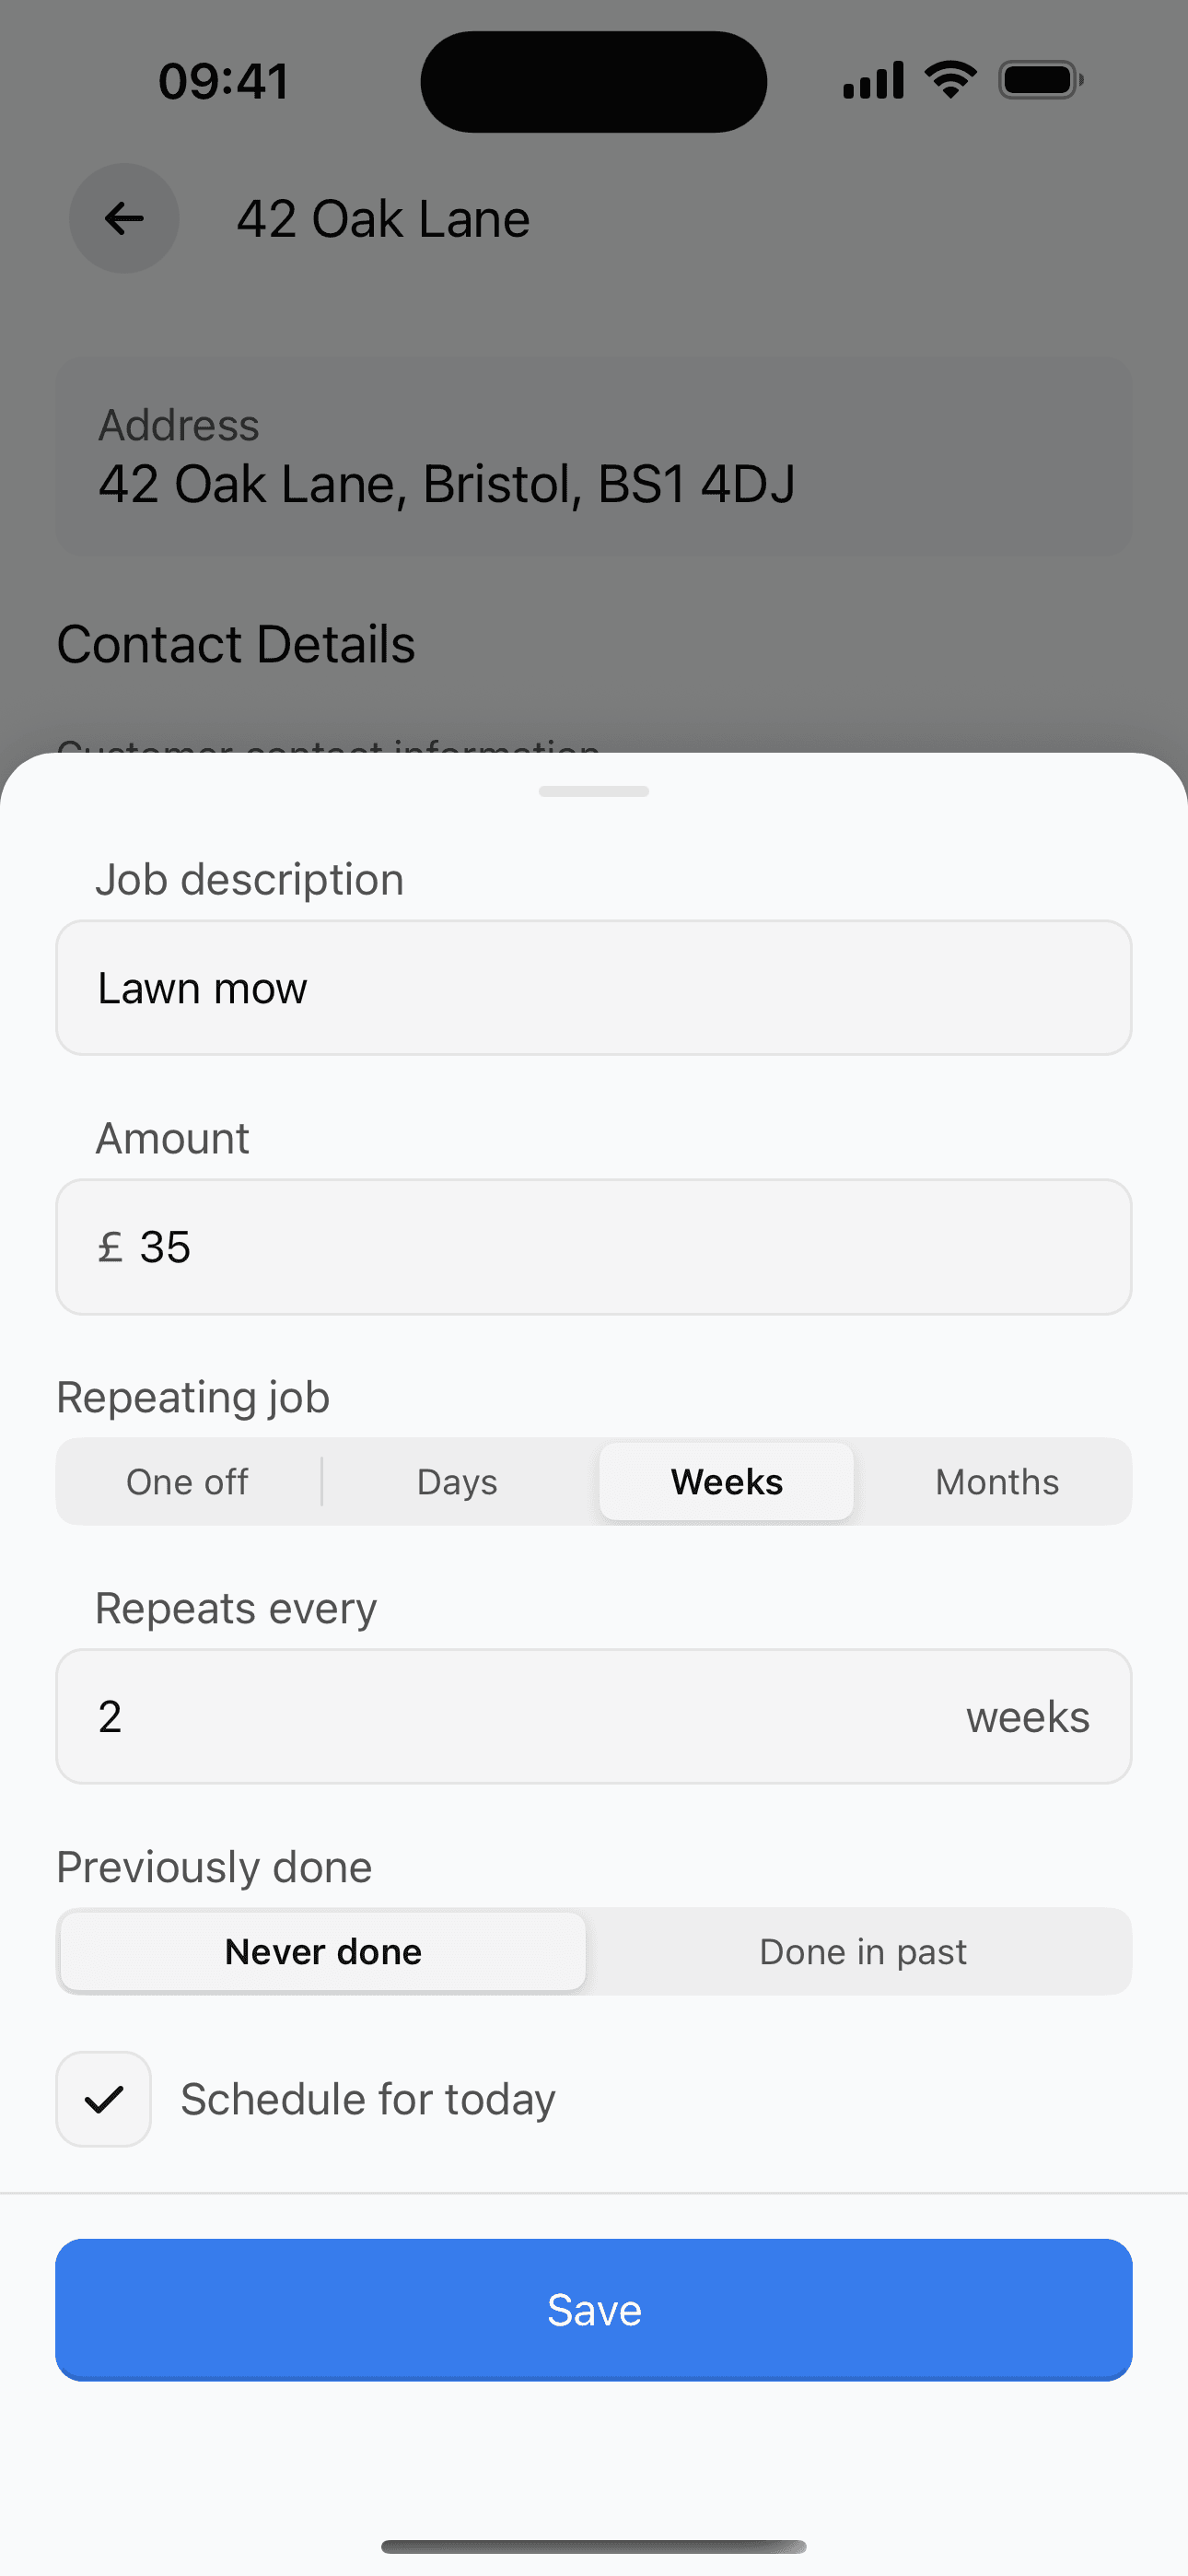
With the customer open, tap 'Add Job'. Enter the job details: description, price, and frequency (one-time, weekly, fortnightly, etc.).
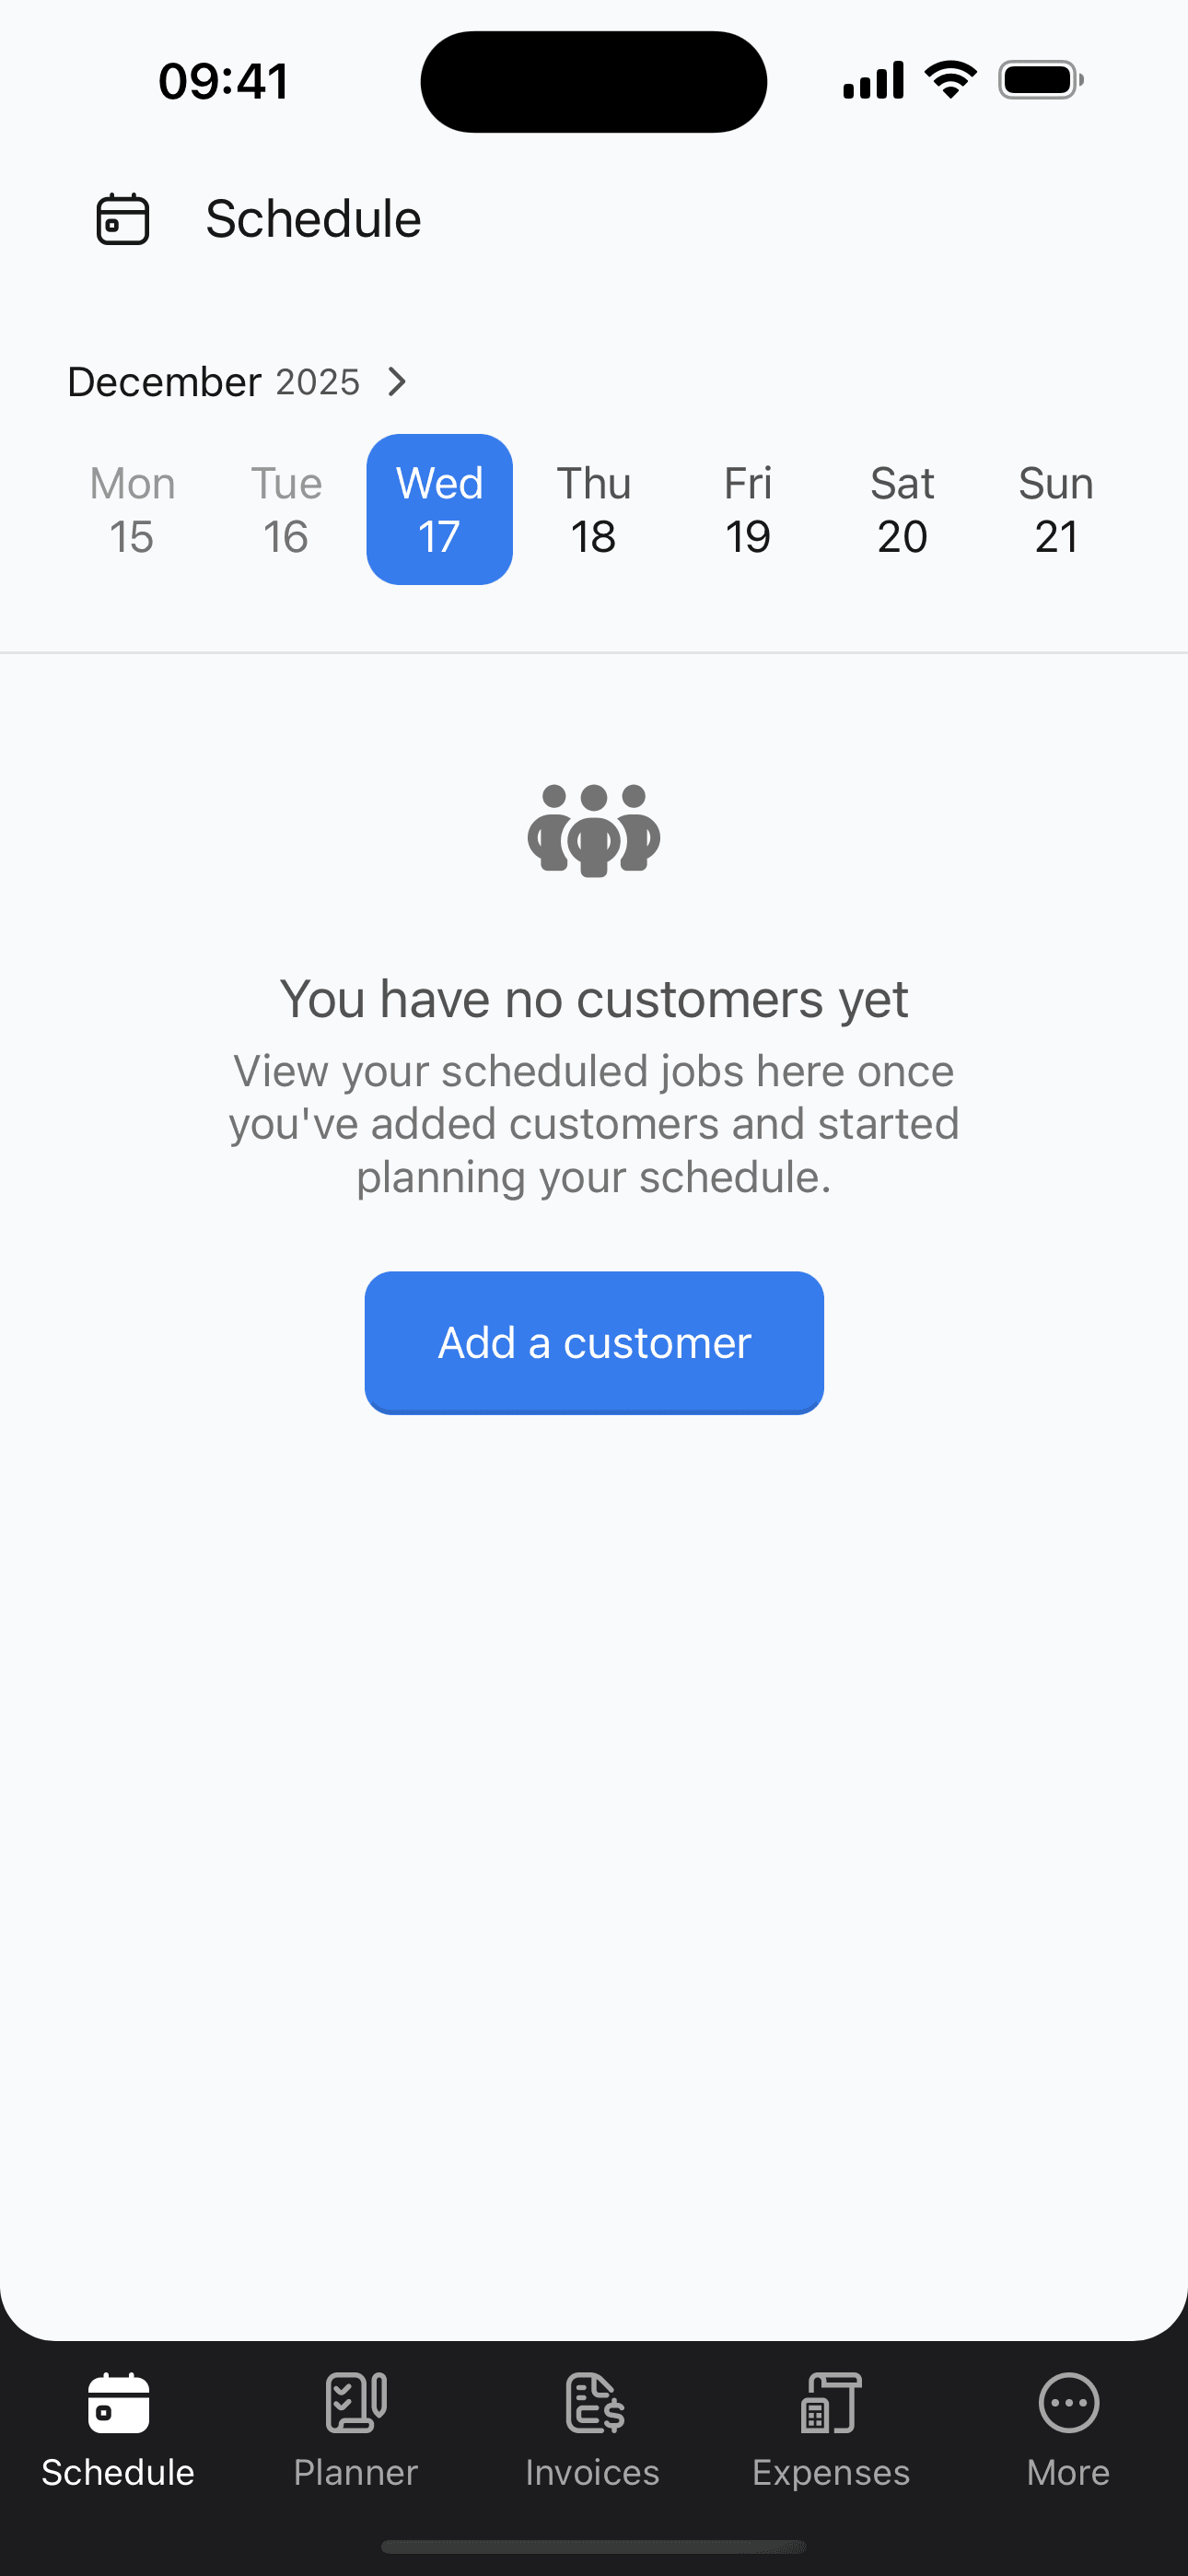
View your schedule
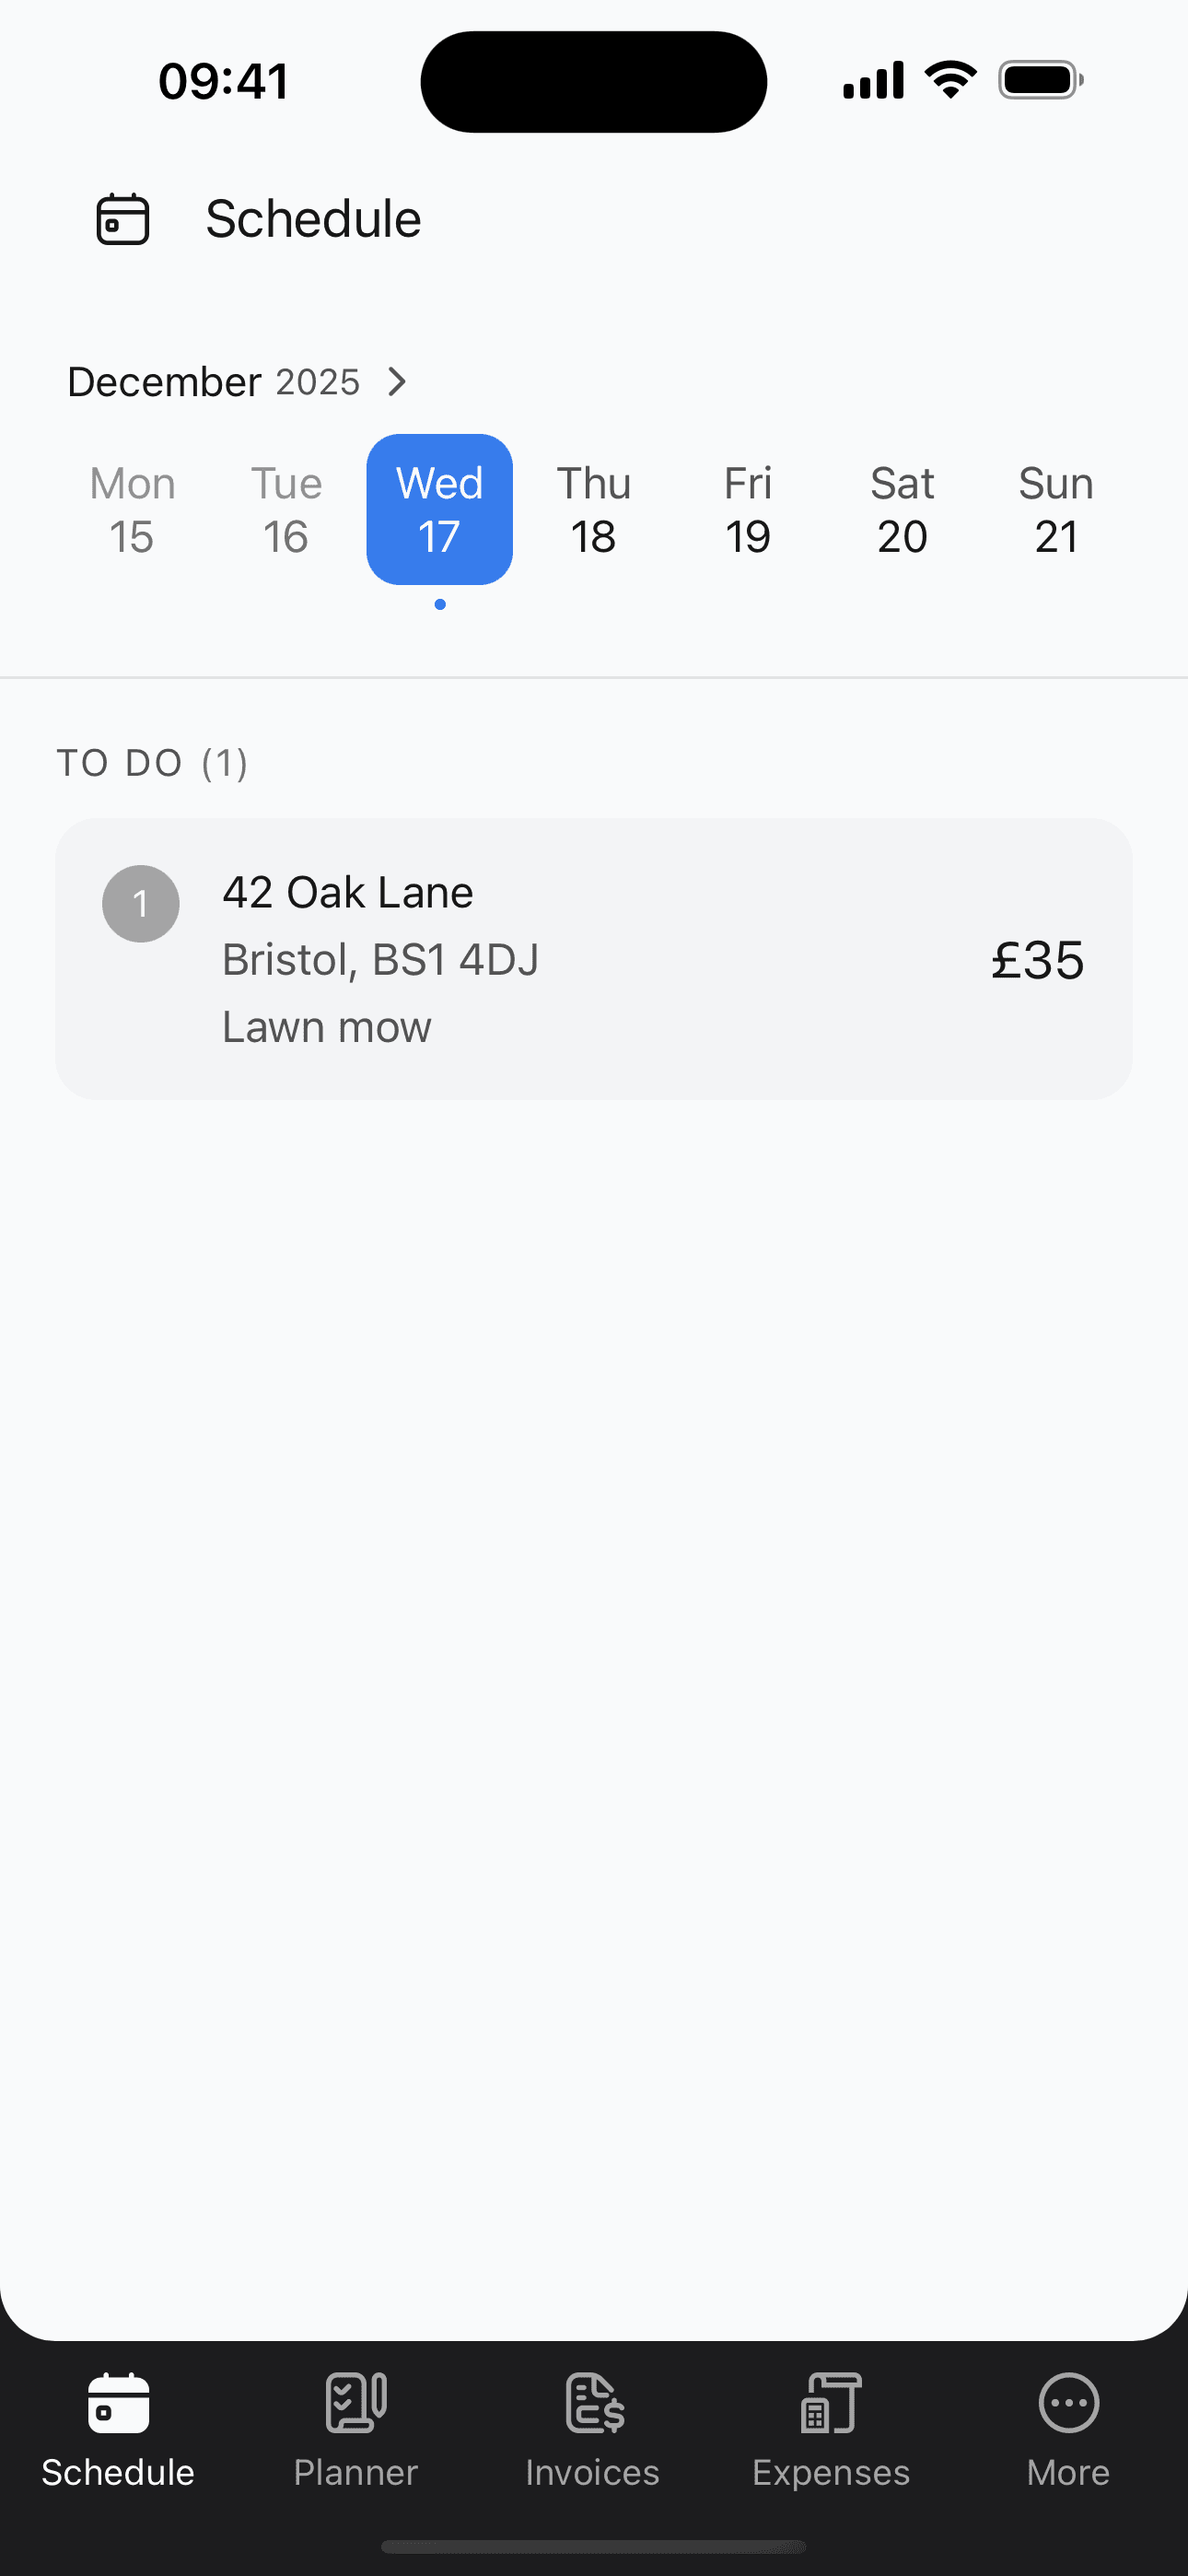
Tap the 'Schedule' tab to see your upcoming jobs. Jobs automatically appear based on the frequency you set.
Complete a job
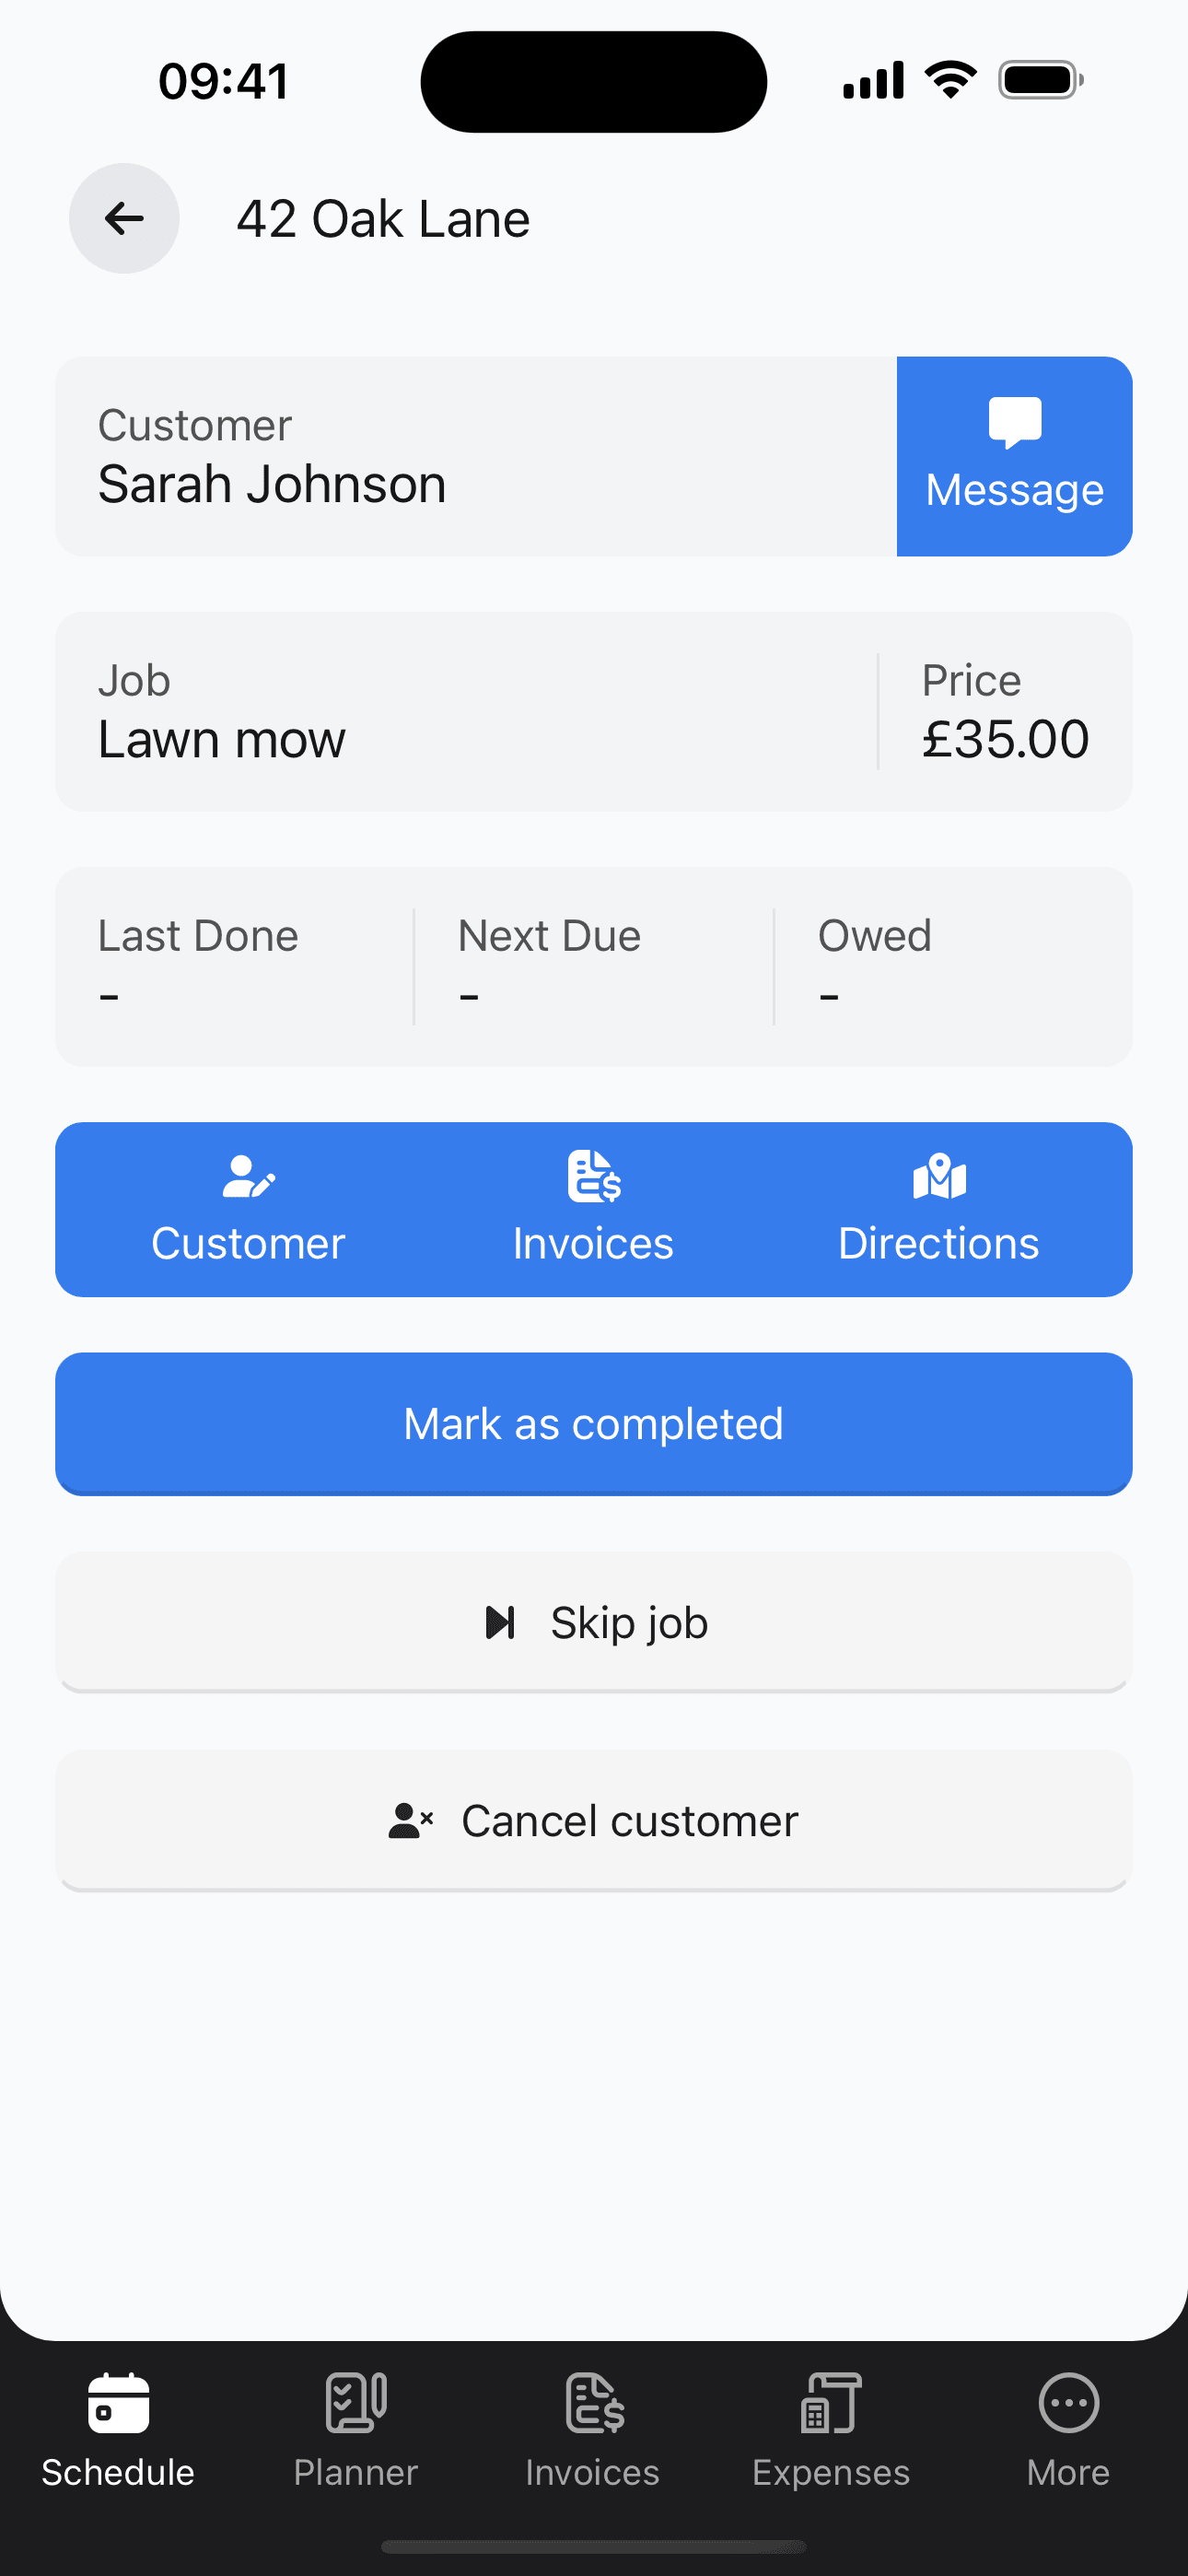
When you finish a job, tap it and mark it as complete. You can add notes about the work done.
Get paid
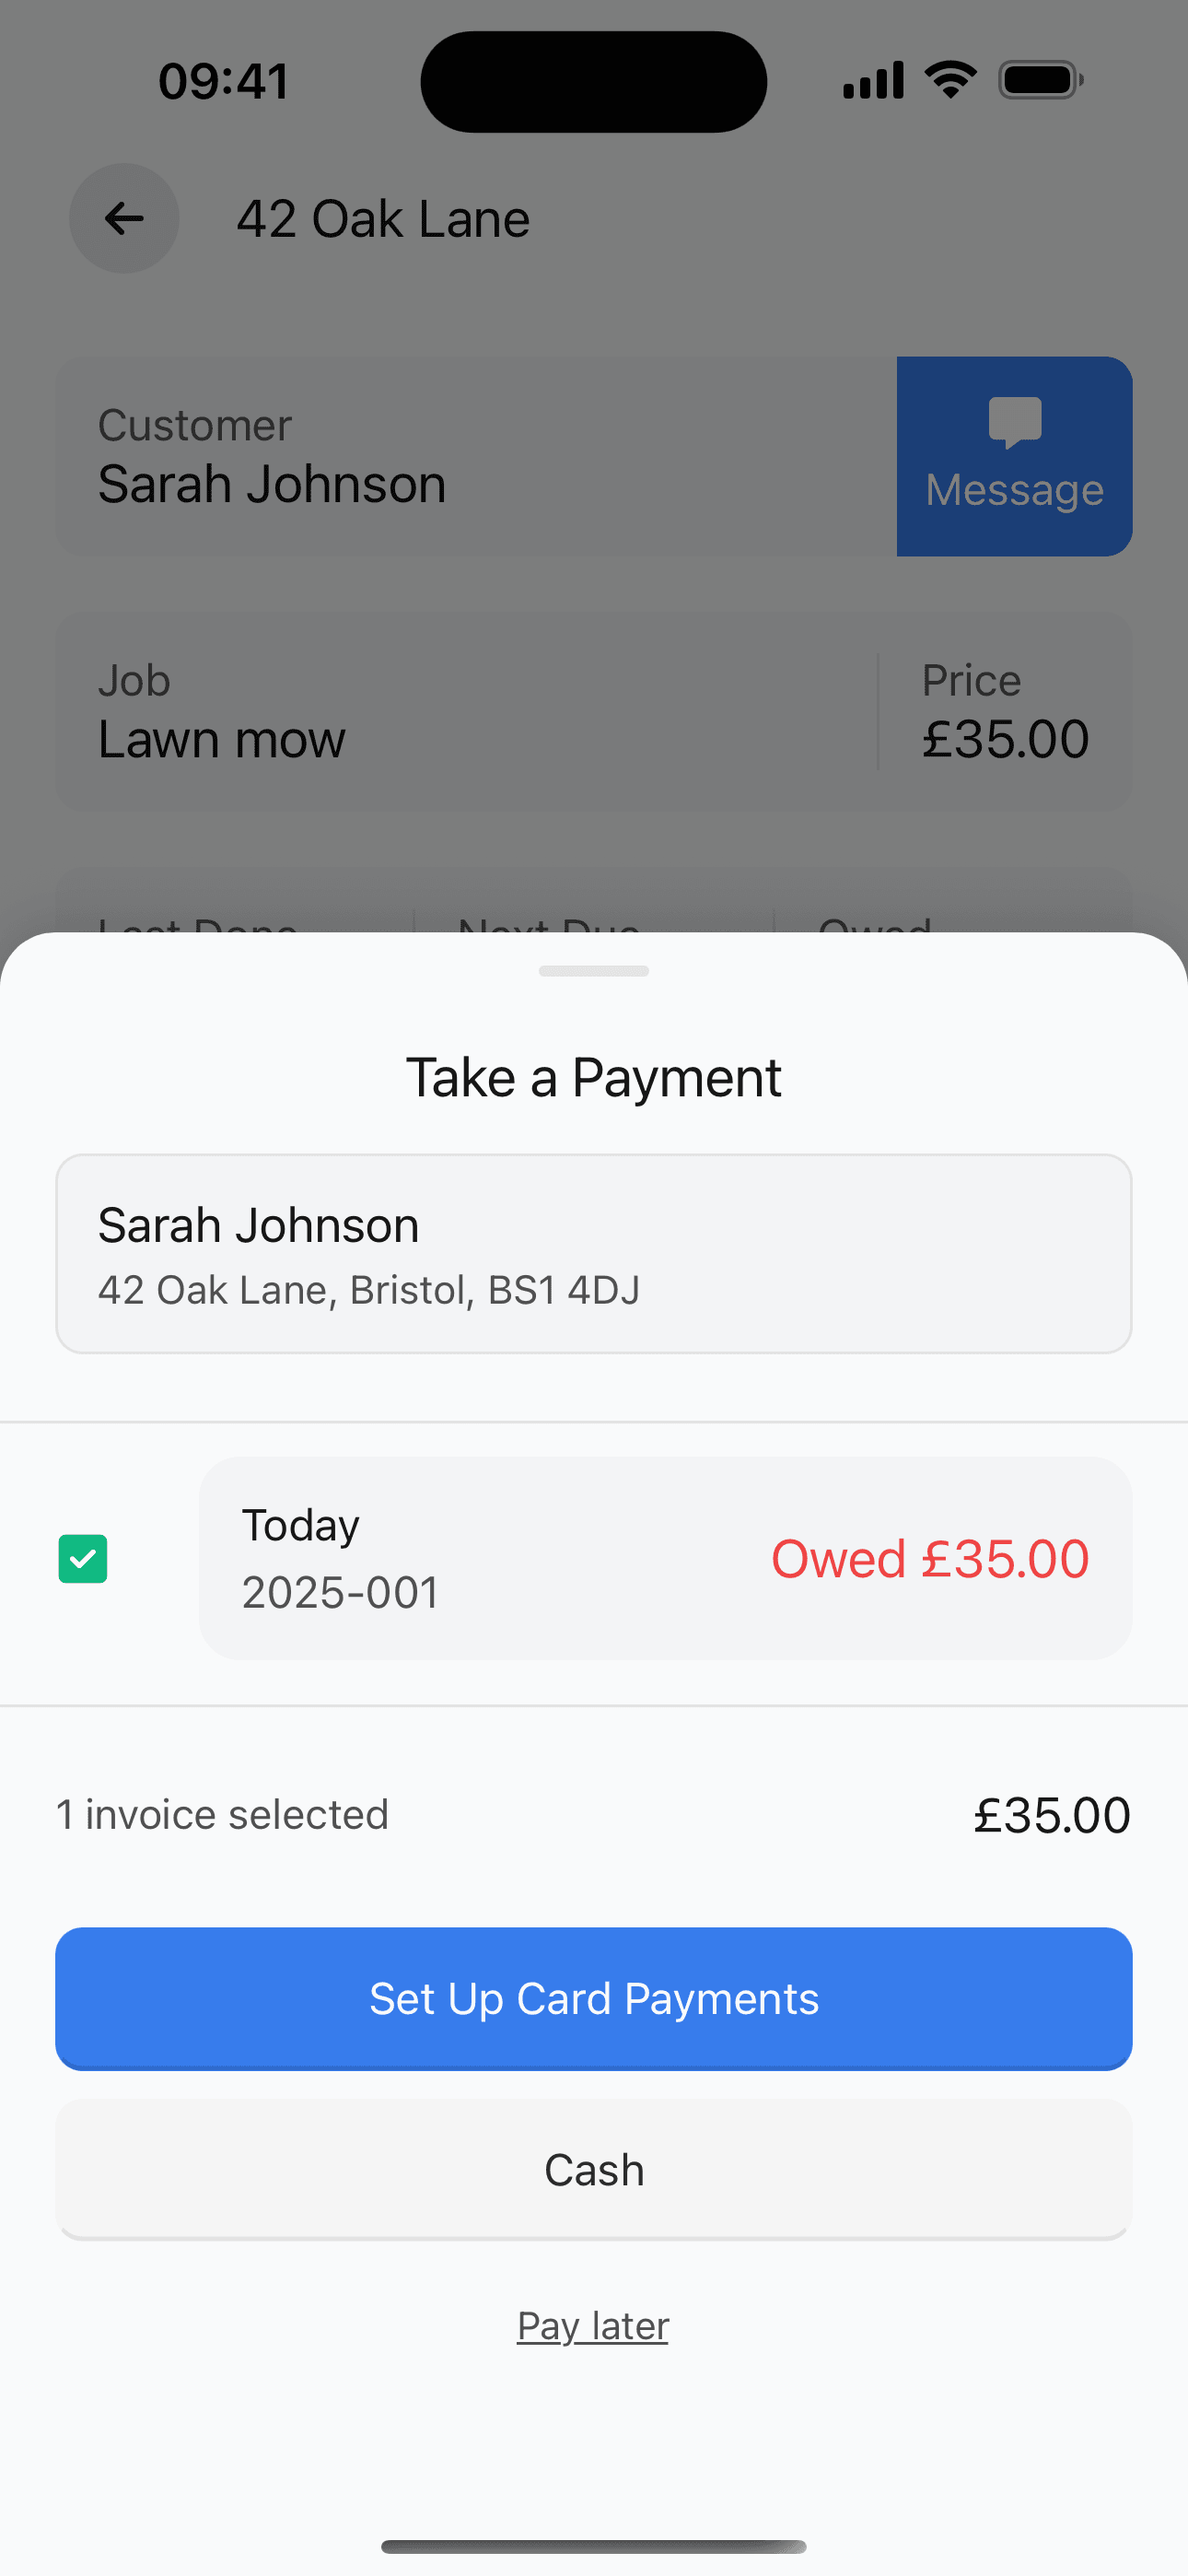
After marking a job complete, a payment screen appears. Choose how to collect payment: send a payment link, record a cash payment, or select 'Pay later' to send an invoice.
Was this guide helpful?